- Always competitive prices and perfect quality
- |
- sales@sydneytimberflooring.com.au







In this article
- What is hybrid flooring and why does it float?
- What tools and materials do you need?
- Step 1: Check and prepare your subfloor
- Step 2: Acclimatise the flooring
- Step 3: Plan your layout
- Step 4: Lay the first row
- Step 5: Continue laying rows
- Step 6: Cut around obstacles
- Step 7: Lay the final row
- Step 8: Fit skirting boards and trims
- What about hybrid flooring on stairs?
- How long does hybrid flooring installation take?
- Common installation mistakes to avoid
- Should you DIY or hire a professional?
- After installation: care and maintenance
- Ready to see hybrid flooring in your home?
- We service all Sydney suburbs
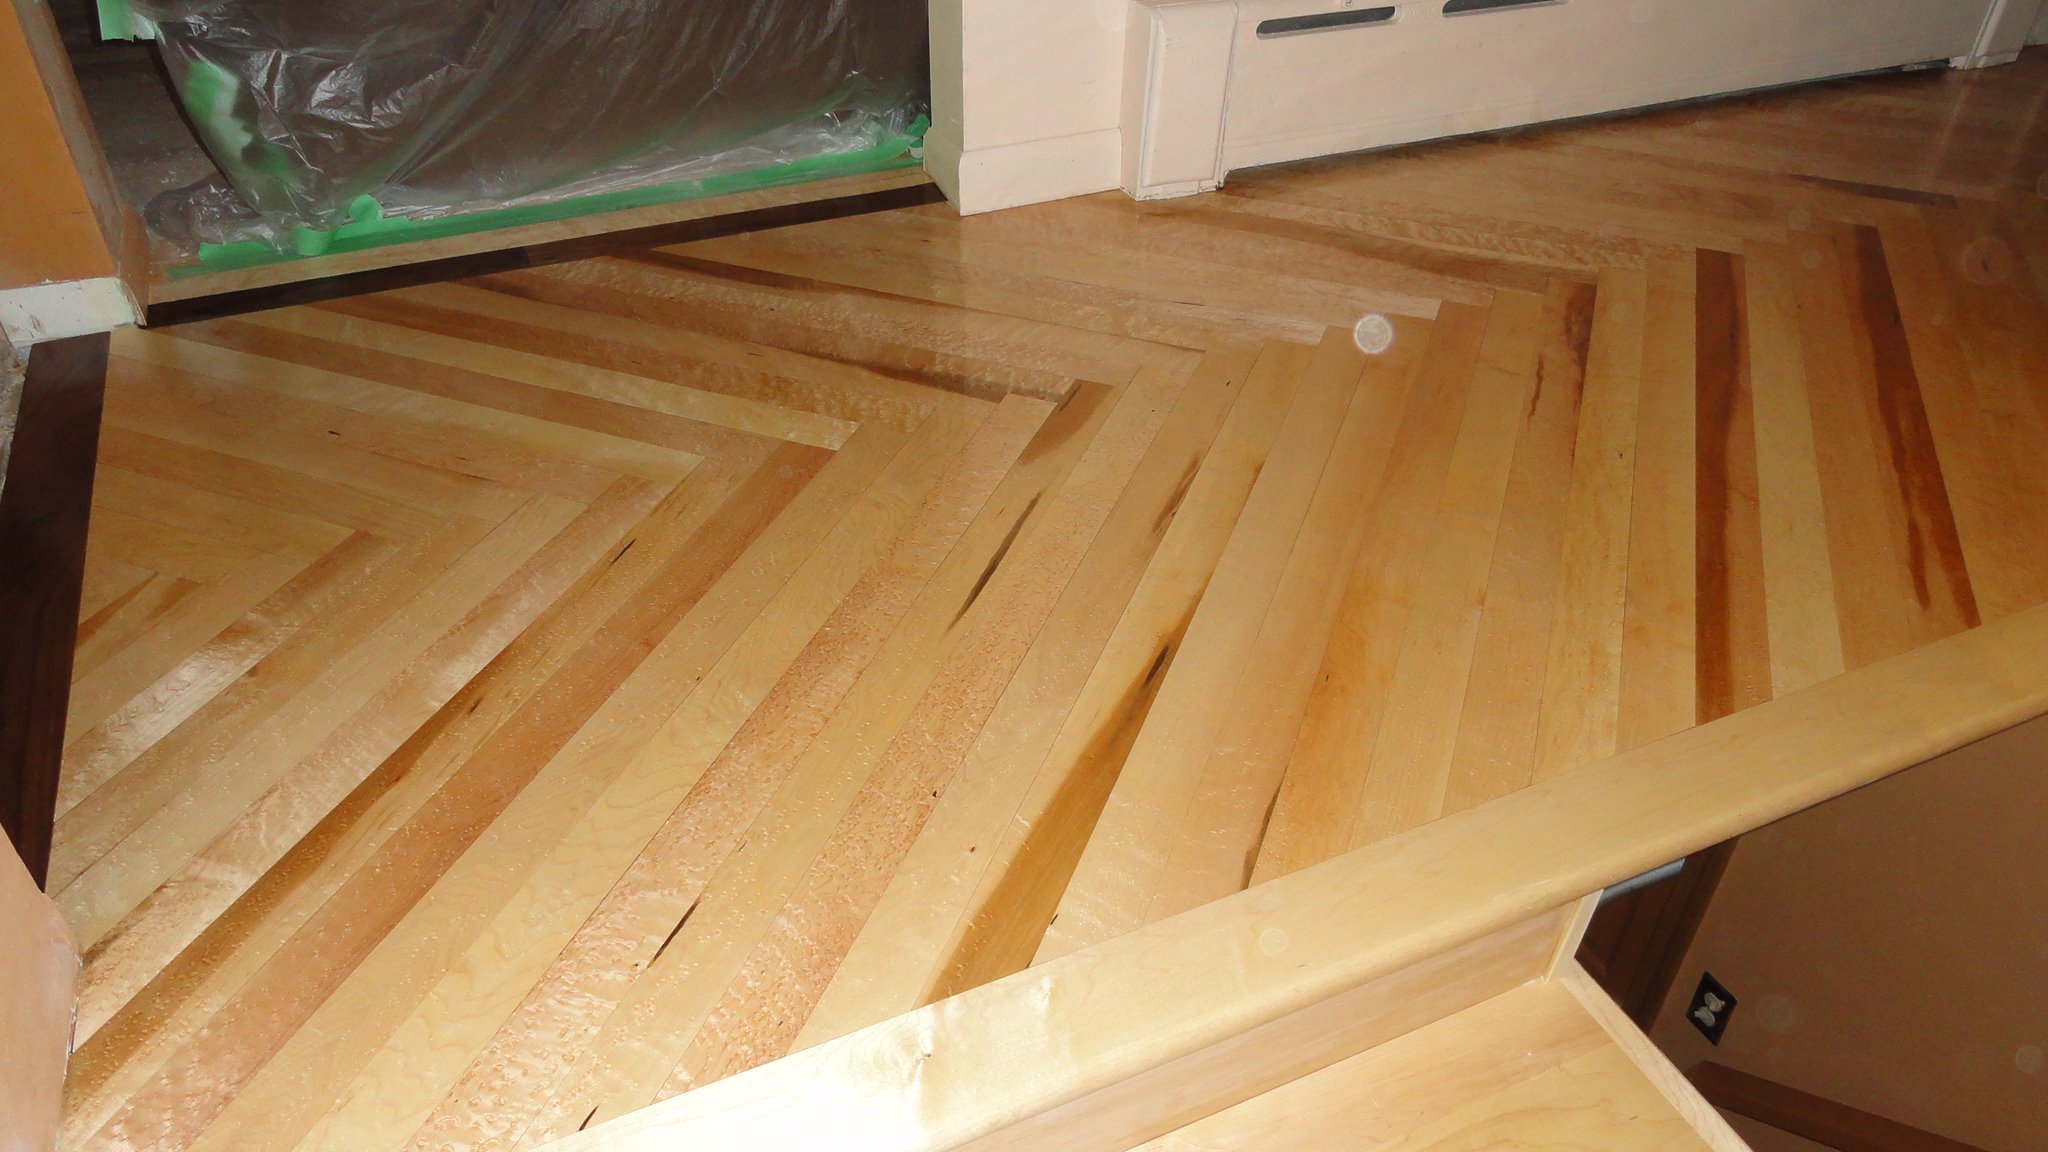
Hybrid flooring installs as a floating floor over most existing subfloors, no glue or nails needed. You need to acclimatise the boards first, check your subfloor is level, leave an expansion gap around the perimeter, and click the planks together row by row. For stairs, doorways, or uneven subfloors, professional installation is the safer call.
Hybrid flooring has become one of the most popular choices for Sydney homes, and it’s easy to see why. It’s waterproof, durable, looks like real timber, and handles the temperature swings that come with Australian living far better than solid timber or laminate.
But before you grab a box cutter and start laying planks, there are a few things you need to get right. This guide walks you through the entire hybrid flooring installation process, from subfloor prep to the final row, so you know exactly what’s involved before you start.
Already decided on a style? Browse our hybrid flooring range to find the right colour and finish for your space.
What is hybrid flooring and why does it float?
Hybrid flooring uses a rigid core construction, typically SPC (Stone Plastic Composite) or WPC (Wood Plastic Composite), topped with a photographic timber-look layer and a protective wear layer. Unlike solid timber, it doesn’t need to be nailed or glued to the subfloor. Instead, it floats, meaning the planks click together and sit over the subfloor without being fixed to it.
This floating method makes installation significantly faster and cleaner than a direct-stick approach. It also means the floor can expand and contract slightly with temperature changes without buckling, which matters in a city like Sydney where summer heat and winter cool can cause movement in building materials.
What tools and materials do you need?
Before you start, gather the following:
- Hybrid flooring planks (add 10% to your measured area for waste and cuts)
- Tape measure and chalk line
- Pencil and square
- Jigsaw or drop saw for cutting planks
- Pull bar and tapping block (for closing joints without damaging the click profile)
- Rubber mallet
- Spacers for expansion gaps (usually 10mm)
- Moisture barrier or underlay if not pre-attached to the boards
- Level or straight edge (at least 1.8m long)
- Knee pads
Most hybrid flooring sold in Australia comes with a pre-attached underlay. If yours does, you don’t need to lay a separate underlay. If it doesn’t, a thin foam or cork underlay will help with acoustic dampening and minor subfloor imperfections.
Not sure how much flooring you need? Get a free measure and quote from our team and we’ll calculate it for you.
Step 1: Check and prepare your subfloor
This is the most important step and the one most DIYers underestimate. A poorly prepared subfloor will result in a noisy, uneven floor that can cause the click joints to stress and fail over time.
Hybrid flooring tolerates a maximum variation of 3mm over a 1.8m span. Anything beyond that needs to be fixed before you lay a single plank. Use a long straight edge or spirit level to check across the subfloor in multiple directions.
- Concrete subfloors: Grind down high spots. Fill low spots with a self-levelling compound and let it fully cure, usually for 24 hours. Check moisture levels with a moisture meter. Concrete should read below 75% relative humidity.
- Timber subfloors: Screw down any squeaky or bouncy boards. Sand down any high spots. Fill gaps with a flexible filler. Timber subfloors must be structurally sound before you lay over them.
- Existing tiles: Hybrid flooring can be laid over tiles if they are firmly bonded, flat, and level. Loose or cracked tiles must be removed or refixed first.
Our team handles all of this as part of our subfloor preparation service, which is worth considering if your existing subfloor has significant issues.
Step 2: Acclimatise the flooring
Leave your hybrid flooring in the room where it will be installed for at least 48 hours before laying. Keep the room at normal living temperature, not in a garage or outside storage area.
Acclimatisation allows the planks to adjust to the room’s temperature and humidity before they’re locked together. Skipping this step is a common reason for boards that gap or buckle after installation.
Step 3: Plan your layout
Think through your layout before you start cutting anything.
- Direction: Run the planks parallel to the longest wall or along the main light source coming through windows. This gives the most natural look.
- Starting row: Measure the room width and calculate how wide your last row will be. If it’s going to be less than half a plank width, cut the first row down so the last row ends at a reasonable width. This avoids a thin, awkward strip at the far wall.
- Staggering: Planks in adjacent rows should be staggered by at least 300mm. Most installers aim for a random stagger to mimic the look of real timber.
- Doorways: Plan which direction boards will run through doorways and whether you’ll need transition strips.
Step 4: Lay the first row
Start in the corner of the room that is most visible, typically the corner you see when you first walk in. Place spacers against both walls to maintain your expansion gap. Most hybrid flooring requires a 10mm expansion gap around the entire perimeter, including around door frames, pipes, and any fixed objects.
Lay the first plank with the groove side facing the wall. Click the second plank into the end of the first, then continue along the row. Cut the last plank to length using your saw, leaving the required gap at the wall. Keep the offcut if it is 300mm or longer; it can be used to start the next row.
Step 5: Continue laying rows
Click each new row into the previous one using the long-edge click system. Angle the plank at approximately 20 to 30 degrees, align the tongue into the groove of the previous row, then press down until it clicks flat.
Use your tapping block and rubber mallet to close any gaps along the long edges. Never hit the plank directly with a hammer. Use a pull bar at the wall end when you can’t swing the mallet freely.
Check alignment every few rows by measuring from the starting wall to the row you are laying. If you’re drifting out of parallel, you can introduce a small angle adjustment over several rows to correct it before it becomes noticeable.
Step 6: Cut around obstacles
Door frames, pipes, and heating vents require careful cutting. For door frames, undercut the frame so the flooring slides underneath rather than butting up against it. Use a handsaw laid flat on a piece of offcut flooring as a guide for the correct height.
For pipes, drill a hole slightly larger than the pipe diameter, then cut the plank in two pieces to fit around it. Fill any visible gap with a matching colour silicone bead.
Step 7: Lay the final row
Measure the gap remaining at the far wall, subtract the 10mm expansion gap, and rip the planks to that width on a table saw or with a jigsaw. Use a pull bar to click the final row into place without damaging the boards against the wall.
Step 8: Fit skirting boards and trims
Once the floor is down, remove your spacers and install skirting boards or scotia beading to cover the expansion gap. Do not nail skirting boards through the flooring. Skirting should be fixed to the wall only, so the floor can still move freely underneath.
Fit transition strips at doorways between rooms or where the hybrid flooring meets a different floor type such as tiles. These are available in flush, ramp, and T-bar profiles depending on the height difference between the two floor types.
What about hybrid flooring on stairs?
Stairs are a separate job entirely. Standard hybrid flooring planks are not designed to simply wrap over a stair nose. You’ll need purpose-made stair nosing profiles that match your flooring, and each tread needs to be fixed securely rather than floated.
Stairs involve cutting, adhesive, and often different fastening methods depending on whether the substrate is timber or concrete. If you’re looking at stair installation, this is a job best handled by a professional installer to get a clean, safe result. Our installation team handles stair jobs across Sydney regularly.
How long does hybrid flooring installation take?
For an average-sized Sydney home with straightforward rooms and a level subfloor, a professional team can typically lay a full house of hybrid flooring in one to two days. DIY installation over the same area may take a weekend or more, particularly if you’re cutting around obstacles for the first time.
Subfloor preparation is additional time. If levelling compound is required, factor in a full curing day before the flooring goes down.
Common installation mistakes to avoid
- Skipping acclimatisation: Boards that haven’t adjusted to room temperature and humidity can gap in winter or buckle in summer after installation.
- Not leaving an expansion gap: The most common cause of hybrid flooring buckling is boards that have been laid too tight against walls or fixed objects. The gap isn’t optional.
- Laying over an uneven subfloor: Any bump or dip in the subfloor will telegraph through the flooring over time, creating a hollow sound and stress on the click joints.
- Nailing skirting boards through the floor: Pinning the floor down defeats the purpose of a floating installation and prevents the necessary movement.
- Random row starting lengths: Short offcuts used to start rows can create weak joints. Always aim for staggered joints at least 300mm apart between adjacent rows.
Should you DIY or hire a professional?
Hybrid flooring is one of the more DIY-friendly flooring options available. If you have a straightforward room, a flat subfloor, and some patience, a confident DIYer can achieve a good result.
That said, there are situations where professional installation makes sense:
- Multiple rooms with complex layouts or many doorways
- Subfloor levelling required
- Stairs included in the job
- Older homes with uneven or suspect subfloors
- You want the job done in one or two days with a guaranteed result
We’ve installed hybrid flooring across hundreds of Sydney homes, from straightforward open-plan apartments to heritage properties with nothing remotely level. See what our professional flooring installation service includes or book a free measure and quote and we’ll come to you.
After installation: care and maintenance
Hybrid flooring is low-maintenance, but a few habits will keep it looking new for longer.
- Sweep or vacuum regularly to remove grit and dust that can scratch the wear layer
- Use a damp mop only, not a soaking wet one
- Wipe up spills immediately, particularly anything acidic like wine or citrus juice
- Use felt pads under furniture legs to prevent scuffing
- Avoid steam mops, as repeated high-heat moisture can affect the core over time
- Place doormats at entry points to reduce the amount of grit tracked in
If a plank ever gets damaged, one of the advantages of a floating floor is that individual planks can be replaced without pulling up the entire floor. Our team can help with flooring repairs and maintenance if you need a plank replaced down the track.
Ready to see hybrid flooring in your home?
If you’re still in the decision stage, check out our project gallery to see how hybrid flooring looks in real Sydney homes. We stock a full range of colours and finishes, from cool coastal tones through to warm oak styles.
Browse our hybrid flooring range, then give us a call on 1300 928 716 or book your free measure and quote. We cover all Sydney suburbs and come to you.
We service all Sydney suburbs
From the inner west to the Hills District, the Northern Beaches to the Sutherland Shire, our team installs hybrid flooring right across Sydney. Check your suburb here.
Not sure what your subfloor will take?
Send a photo of the room and the rough measurements. We will tell you what will work and what will not.
Common questions
Yes, as long as the tiles are firmly bonded, flat, and within the 3mm tolerance over 1.8m. Loose, cracked, or raised tiles need to be fixed or removed first. Keep in mind that laying over existing tiles will raise your floor height, which may affect door clearance.
Most hybrid flooring sold in Australia has a pre-attached underlay. If yours doesn’t, a thin foam or cork underlay is recommended for acoustic performance. Never double up on underlay, as too much cushioning can prevent the click joints from locking flat.
A minimum of 48 hours in the room where it will be installed. Keep the room at normal living temperature during this period. In rooms with significant temperature extremes, 72 hours is safer.
Hybrid flooring is waterproof at the plank level, meaning the core won’t swell if water sits on it. However, water can still travel through the joins over time. In bathrooms and laundries, ensure joins are sealed and that any pooling water is wiped up promptly.
The standard expansion gap is 10mm around the entire perimeter, including at walls, door frames, pipes, and any fixed cabinetry. This gap is covered by skirting boards or scotia beading after installation.
Costs vary depending on room size, subfloor condition, and whether stairs are involved. The best way to get an accurate figure is a free on-site measure and quote. Book yours here and we’ll give you a written quote with no obligation.
Read enough? Get a price for your floor.
We measure on site, quote in writing, and the quote covers subfloor prep. No obligation to go ahead.